How to colorize a black and white photo in Photoshop: AI and by hand
By Otávio Marques · · 4 min read

If you want to colorize a black and white photo in Photoshop, it is one of those jobs that impresses everyone and is simpler than it looks. There are two paths: the automatic one, with the Colorize neural filter, and the manual one, painting on layers set to the Color blend mode. The best result almost always comes from combining both.
I will show both, starting with preparing the photo, which is where many people go wrong.
Before colorizing: prepare the photo
Convert to RGB
Many black and white photos open in Grayscale mode, and in that mode Photoshop simply does not accept color. Go to Image, Mode, RGB Color. If you paint and nothing happens, this is almost always the reason.
Clean up the damage
Old photos have scratches, dust and stains. Use the Clone Stamp or the Spot Healing Brush to clean them before colorizing, because color on top of a scratch makes the scratch stand out.
Adjust the contrast
A faded photo looks lifeless even in color. A Levels or Curves adjustment layer with a little more contrast helps a lot.
Method 1: colorize with the neural filter (AI)
In recent versions of Photoshop, go to Filter, Neural Filters and turn on Colorize. The program analyzes the image and applies colors automatically.
A few tips for a better result:
- Choose to output the result as a new layer, so you can adjust or erase parts later.
- Play with the filter's own saturation and color balance controls.
- If an area comes out in the wrong color (a dress you know was blue, for example), add a focus point with the right color, or fix it by hand with the method below.
AI is great for skies, plants and skin in normal lighting. It makes more mistakes on clothes, objects and small details, because it has no way of knowing the original color.
Method 2: colorize by hand with layers in Color mode
This is the classic method, and it works in any version of Photoshop.
- Create a new layer above the photo.
- In the Layers panel, change that layer's blend mode to Color. That way you paint only the color and keep the light and shadow of the original photo.
- Pick the Brush with a soft edge and the color you want.
- Paint the area: skin, hair, clothes, background. Use one layer per area, with its name. It makes fixing things later much easier.
- Lower the opacity of each layer until the color looks natural. Color at 100% almost always looks painted.
For tricky edges, like hair, select the area first with the selection tools and only then paint, so the color does not spill.
Tips so it does not look fake
- Skin is not a single color. Cheeks, nose and ears are slightly pinker. Use a second layer with a warmer tone and low opacity in those areas.
- Use a reference. Open a similar color photo and pick colors with the eyedropper.
- Less is more. Real old photos had less saturated colors. A bit of desaturation at the end makes everything more believable.
- Look from a distance. Zoom out now and then. Up close, you lose track of the whole picture.
What you need to know first to do this well
Colorizing relies on three Photoshop basics: layers, selections and the brush. If you struggle with those three, you will struggle with any edit. If you do not feel comfortable with them yet, it is worth learning the basics first.
Learn with the course
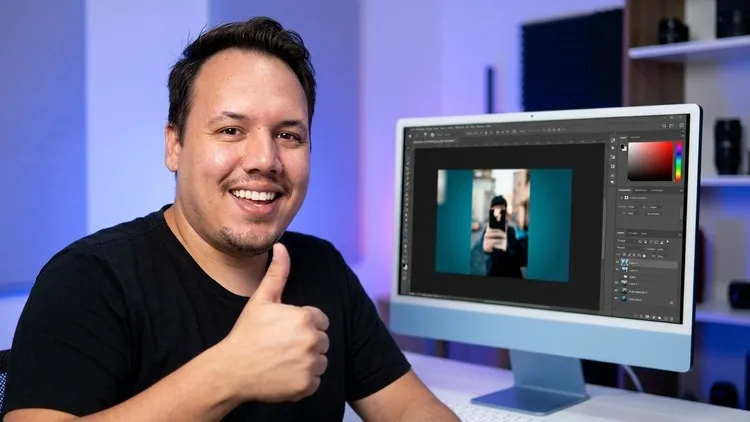
The Photoshop course for beginners has a full lesson on colorizing a black and white photo, plus lessons on the interface, layers, selections, clone stamp and composites. It was recorded in an earlier version of Photoshop and in Portuguese, so the screen looks different, but the tools and the manual method in this article remain the same. A new version is in production. And if you edit photos to sell, also see how to write an Instagram bio for business so your images reach buyers.
Frequently asked questions
What is the best way to colorize an old photo?
The fastest is the Colorize neural filter, which makes a first version in seconds. The best result usually comes from combining both: AI makes the base and you fix the wrong areas by hand.
Do I need a specific version of Photoshop?
The manual method, with layers in Color blend mode, works in practically any version. Neural filters are available in recent versions.
How do I get skin tones right?
Use a color reference photo with similar lighting and pick the skin color with the eyedropper. Then lower the layer opacity until it looks natural.
Want to go further?
Photoshop for Beginners: Zero to Intermediate
- Know the main Photoshop tools and what each one does
- Use layers without fear, which is what unlocks the program
- Edit images hands-on, from start to finish
Taught in PortugueseThe lessons are recorded in Portuguese, with automatic Portuguese captions. There are no English captions yet, so check the free preview on Udemy before buying.

Otávio Marques teaches digital marketing, design and web building, has worked on the web since 2010 and has 1,800+ students on Udemy. Meet the instructor.
Keep reading

Instagram that sells
Instagram bio for business: how to write 4 lines that sell
How to write an Instagram bio for business in 4 lines: what you do, who you serve, why trust you and how to contact you.

Instagram that sells
What to post on Instagram for business: the 4 post types that sell
Not sure what to post on Instagram for business? Use the 4 post types that sell: questions, proof, behind the scenes and offers.

WordPress + Elementor program
Is learning WordPress worth it in 2026? An honest answer
Is learning WordPress worth it in 2026? See who benefits, how long it takes and when it is not the right choice.